Photoshop Tutorial – Photo to Watercolor Painting
“Watercolor Works” Photoshop Tutorial.

How to turn a photo into a watercolor-style painting in a few simple steps. Earlier this week I found a super simple way to bring new life to old photos. I posted my pieces here. And now, in my first tutorial, I’ll show the steps behind how I did them.
Tools used:
- Adobe Photoshop CS4 (almost any graphics editing program capable of making and using custom selections and brushes will work, including GIMP, older versions of Photoshop)
- Digital photograph of your choice (I recommend a photo with few but vibrant colors and a simple composition to start) I used a personal photograph
- Watercolor brushes (I suggest making your own. In lieu of that free high quality brushes can be found at at Brusheezy or deviantART.)
- Paper texture (again something that can be made at home or downloaded for free at deviantART or CG Textures.) I used Paper0007 (Texture: #6807) from CG Textures
Get your materials ready and then open up your editing program. (When clicked, the instructional images will open in a new tab so they can be seen larger.)
1. Bring your photograph and paper texture together in one document
With your materials ready open up your photograph in Photoshop. Press ctrl+A to copy the entire image, then ctrl+c to copy. Open your paper texture. Press ctrl+V to paste the photograph. Close the original photograph window. [Alternatively, if you know what size document you want create it and bring both photos in by copying and pasting.] Resize and position the photograph if necessary. Rename Layer 1 “Photograph.”
")
Save your PSD before continuing.
2. Select a color range, create a new layer, and begin painting
With the brush tool active (B) alt+click the part of the image you’d like to paint first. Once you’ve selected the foreground color, hit (X) and select the background color. The colors should be similar. [Selecting two slightly different tones directly from the image and then switching between those tones while painting helps create depth.] For my piece I selected two of the green tones found in the leaves of my image.
Now it’s time to make a selection based on these colors. Go to Select>Color Range. . . a dialog box similar to the one below should appear
")
Select “Sampled Colors” from the dropdown box. Adjust the fuzziness setting as you see fit. Higher numbers = more is selected. 90 worked the best for this part of my image. Click OK when ready.
Without deselecting, create a new layer and name it after the color or part of the image you’re creating. [Since I was working with green my layer was aptly named “Green (1)”]. Hide the Photograph layer. On your new layer, with your range still selected, use your water color brushes and begin randomly painting. Only “dab” the brush – do not drag it around. Leave a few spots empty to help build up the desired effect. If you have two tones, one foreground, one background, alternate between the two. When you’re satisfied crtl+D to deselect. Painted too much? Use a watercolor brush to randomly erase any excess color. Also be sure to gently erase any hard edges.
")
Continue this process for each color you wish to represent. You will need to show the photograph layer in order to pick the next color range, then re-hide it as you begin painting on a new layer. (Layer order is unimportant. Keep each layer’s blending mode on “Normal”.)
")
3. Enhance colors and textures (optional step)
Duplicate the paper texture and the photograph layers, bringing them above all your other layers. Set them both to Soft Light.

Make color adjustments as you see fit. I ended up using a photo filter and a color balance adjustment mask to saturate the colors. Once you’re satisfied save your image.
Done!

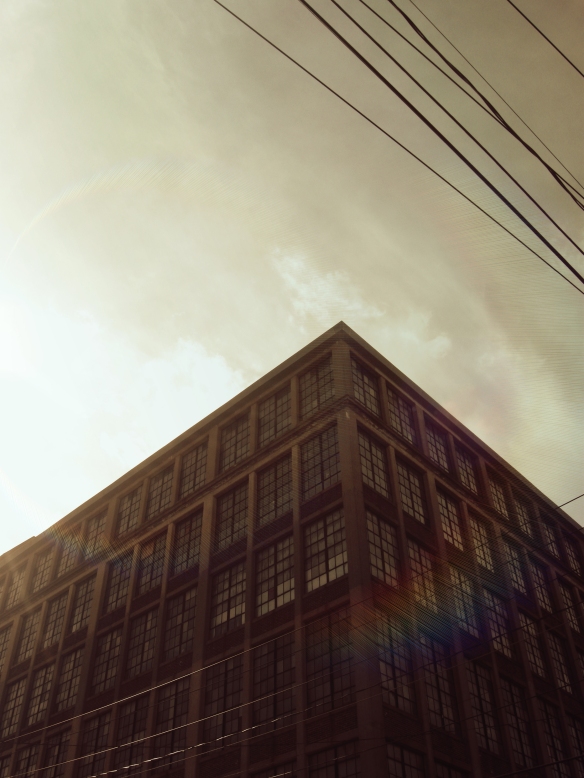
Enjoy your result. I’ve found these kinds of images make great greeting cards and wall art pieces. Vary your subject matter, though, and you can do anything. Try working with photos of people or a cityscape to get some really awesome results! Also, try leaving one main color out of your image to create an interesting 3Dish effect.


 - Times Square, New York City")


")
 by Karissa Cole")

 by Karissa Cole 2013 all rights reserved")


 the Rainy Day by Karissa Cole 2013")


")


 by Karissa Cole 2012 all rights reserved")

 by Karissa Cole")
")
 the Rainy Day by Karissa Cole 2013")

 by Karissa Cole")


 by Karissa Cole")


 by Karissa Cole sdvw")


")


Oh my! This is truly nice post! This tutorial helps a lot. I like this! Thanks for sharing your ever great thoughts and creativity!
Thank you Roy! I’m glad you like this post!
Great tutorial! Just wondering if you could shed soe light on the technique being used at the link below?
Thanks! That’s a really interesting image. I really couldn’t do much to shed light on the technique used, though. Sorry I couldn’t be more help :]