• I have good news my friends:
I’ve finally tied up the last of the loose ends.
My bat pattern is finally here!
(Even if it did take me over a year…)
But now I’m happy to say it’s officially done,
and I’m sharing it so you, too, can make one.
But then, I guess, why stop at just one?
An army of bats would be much more fun!
You could make one black, orange, or blue;
A yellow one, pink, and even green, too!
And in the end, whatever color you choose,
these guys are so cute, you just can’t lose!
• Now normally when I release a pattern, you see,
it comes with some kind of whimsical short story.
But I’m sorry to say, that try as I might,
I could think of no batty tale on this lonely night.
I sat and thought about it quite a lot.
But all my sitting and thinking was apparently for naught.
Lately I’ve just had no good ideas, no inspiration.
I think my mind just up and left, and took my motivation.
But even without the usual cute tale to boast,
I figured I could still at least try to make this post.
It just looked like without a story this time,
I’d have to settle instead for a silly little rhyme.
Of course, I can’t deny, I’m certainly no poet,
and now, thanks to this line, we definitely all know it.
But that’s okay, we’ll just never-mind that now;
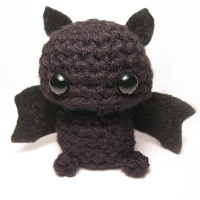
‘Cause I’ve made a little bat and I’ll show you how.
• So go ahead and gather your supplies, get some yarn, take your pick.
And get ready to crochet some bitty bats, that work up super quick!

Sebastian is this little guy’s name, and batty cuteness is quite clearly his game!
S U G G E S T E D M A T E R I A L S:
• Small amounts of worsted weight yarn
• G/7 4.50MM crochet hook
• One (1) pair of 8MM safety eyes
• Black felt
• Scissors
• Needle & thread (Substitution: Hot glue)
• Pins
• Fiberfill stuffing
A B B R E V I A T I O N S
MC – magic circle (magic loop/magic ring)
RND – Round
sc – single crochet(s)
inc – increase
ibl – in back loops only
dec – decrease
ch – chain
hdc – half double crochet
sl slt – slip stitch
*actions in asterisks should be repeated until round completion or to the indicated stopping point in the round*
(number in parentheses indicates total number of stitches after round/row completion)
FO – fasten off
This little bat really is quite little! Finished size is just a few inches tall. Given that, it is not suggested that this toy be given to any very little ones. Also, please note that the basic ear and wing shapes shown in this pattern are merely references, and are not actual size. Everyone’s crochet style is different, so the wings/ears may not be a one size fits all situation. You will need to experiment to get a size that fits your bat.

If you find any errors with this pattern, or have any questions or comments, please feel free to let me know! You can leave a comment below, or send a private message by using the form on the Contact page.
E A R S (make 2):
With your black felt cut out two tear-drop shapes, like the ones in the image below. You may wish wait and cut out the ears when you’re around round 9 or so of the head (directions for which follow). I had to experiment with the size of the ears until they looked like you see in the finished photos.

NOT TO SCALE – unless you want your bat to have REALLY abnormally sized ears :)
H E A D (make 1):
MC 6
RND 1) *inc* (12)
RND 2) *sc, inc* (18)
RND 3) *2sc, inc* (24)
RNDs 4-7) *sc* (24)
RND 8) *ibl sc* (24)
RND 9) *2sc, dec* (18)
You can go ahead and place the eyes now. You may also want to pin on and sew the ears. (I really hate sewing and so waited to sew the ears on until the end, but it’s up to you). For my bat, before pinning the ears on, I rolled the felt a bit, almost making a funnel shape. Flattening that, I then pinned the ears on, making them look more rounded, as you see in the photos. Also start stuffing the head, firmly, and continue stuffing until you finish off.
RND 10) *sc, dec* (12)
RND 11) *dec* (6)
FO
B O D Y (make 1):
MC 6)
RND 1) *inc* (12)
RND 2) *sc, inc* (18)
RND 3) *ibl sc* (18)
RNDs 4-6) *sc* (18)
RND 7) *sc, dec* (12)
FO
F E E T (make 2)
leaving a long tail, ch 4
work 3hdc in the 3rd ch from hook. sl st in the last chain. FO leaving a long tail.
Pull both the beginning and ending tails through the bottom part of the body where you want the first foot to go. Pull through enough so that that last sl st gets pulled right inside, leaving just the round little foot sticking out. Tie a few knots with the end tails (that have now been pulled inside the body) to secure the foot. Repeat for the second foot. (Placement is totally up to you. I think I might’ve liked to see what this little bat looked like with its feet wider apart…)

W I N G S (make 2):
With your black felt cut out two wings in whatever shape you find most batty. Below, number 1, is the basic shape I used. In hindsight, though, I think I should’ve gone with number 2. On my next bat that’s the one I’ll use :)
I went ahead and redid the wings so they’re a bit more bat-ish, using design number two below. I added the finised photos to this post. Be forewarned: sewing the wings can be a bit fiddly, especially since this bat is so tiny. Patience will be needed, trust me xD

(You may cut out two different wings, or cut them out as one piece to save some sewing if you’d like). Once your wings have been cut out, place, pin, and then sew them to the body. Stuff the body now, too. (If you’d like to sew the wings on after stuffing, that’s totally cool, too.)
You should now have your head, ears, body, feet, and wings all done. All that’s left is to sew the bat head to the body. (And do it quickly! A headless bat is just plain wrong…) Pin the two pieces together, and, once you’re satisfied with the placement, go ahead and sew. Weave in any loose ends.

pinning things in place – I saved all the sewing for last

finished!
• There you go, you’re all done!
I hope you enjoyed this pattern, found it fun.
• Now this batty little post of mine is almost complete.
If you made it through all my cheesy rhymes, consider it quite a feat!
• Please have fun making your little bat,
just be sure to tell others where you got it at.
Share the amigurumi goodness, and send others this way
Give a bit of credit to this blog to help keep things free, okay?
And speaking of which, I’ve been meaning to tell:
whatever you make from this pattern, please don’t sell.
This design is a gift, free for all,
so anyone can have a their own baby bat this fall!
Okay, I’m done trying to rhyme.
Waaaaaaaaaaaaaaaaaaaaaay back in April of 2012 I made a bunch of little black amigurumi bats. At the time I just free-formed them, using the simple basics of amigurumi making (crochet an oval, crochet a tube, sew them together and poof! -a cutie appears). I used basically the same design as my little Skittles, which were, in fact, inspired by Skittles. I don’t know why it took me so darn long to finally sit down and figure out the exact pattern, but I hope it was worth the wait :)
____________________________________________________________
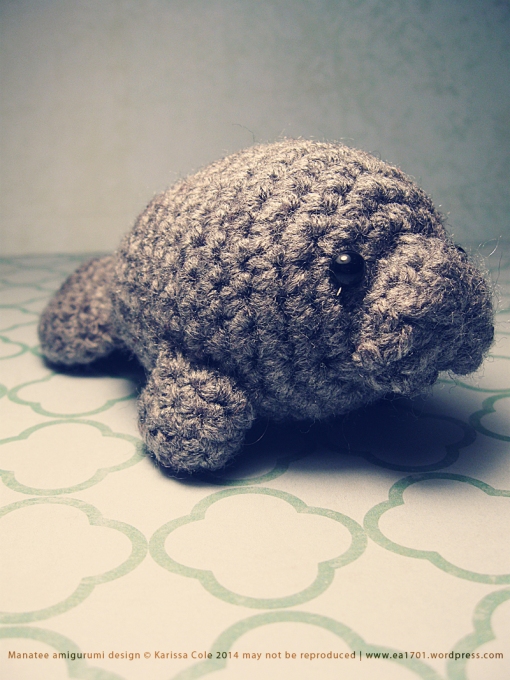
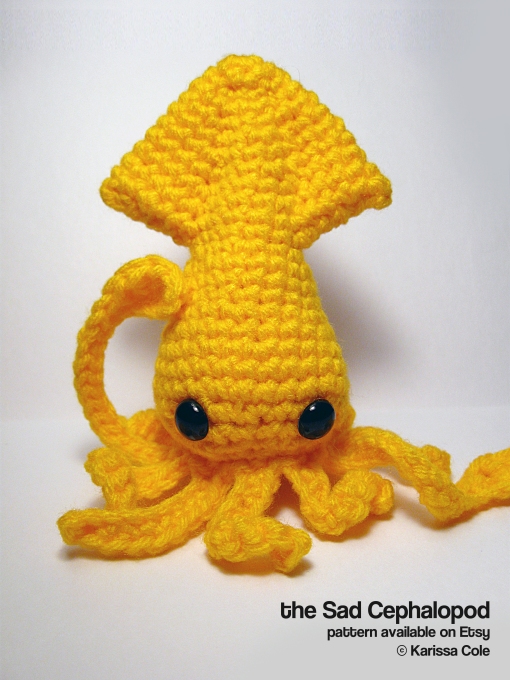
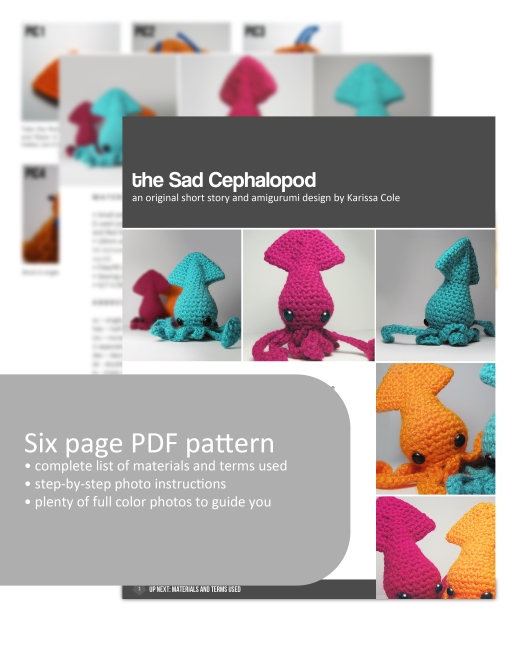
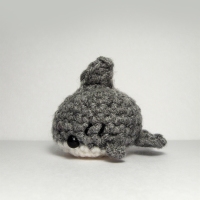
Like this post? Check out these other cute amigurumi patterns available from ea1701:


For a full list of amigurumi-related posts visit the amigurumi page. Have fun!


![Melvin the Misunderstood Monster [Free Pattern] by Karissa Cole](https://ea1701.files.wordpress.com/2012/07/melvin-the-misunderstood-monster-free-pattern-by-karissa-cole.jpg?w=180&h=240)


 by Karissa Cole 2012 all rights reserved")

 by Karissa Cole")


 by Karissa Cole")


")


 the Rainy Day by Karissa Cole 2013")
 by Karissa Cole sdvw")


 by Karissa Cole")


 by Karissa Cole 2013 all rights reserved")
 by Karissa Cole")

 the Rainy Day by Karissa Cole 2013")

")

")


")


